By the tiswa editorial team, from the official sources listed at the end of this guide. How we write our guides
A good study desk setup decides how many hours you can study before your back aches or your mind wanders. You do not need a big room or an expensive desk. You need the chair and screen set right, comfortable light, tidy devices and a phone out of reach. This guide covers each part, using the display screen posture guidance from the UK Health and Safety Executive (HSE).
Step 1: Chair and posture
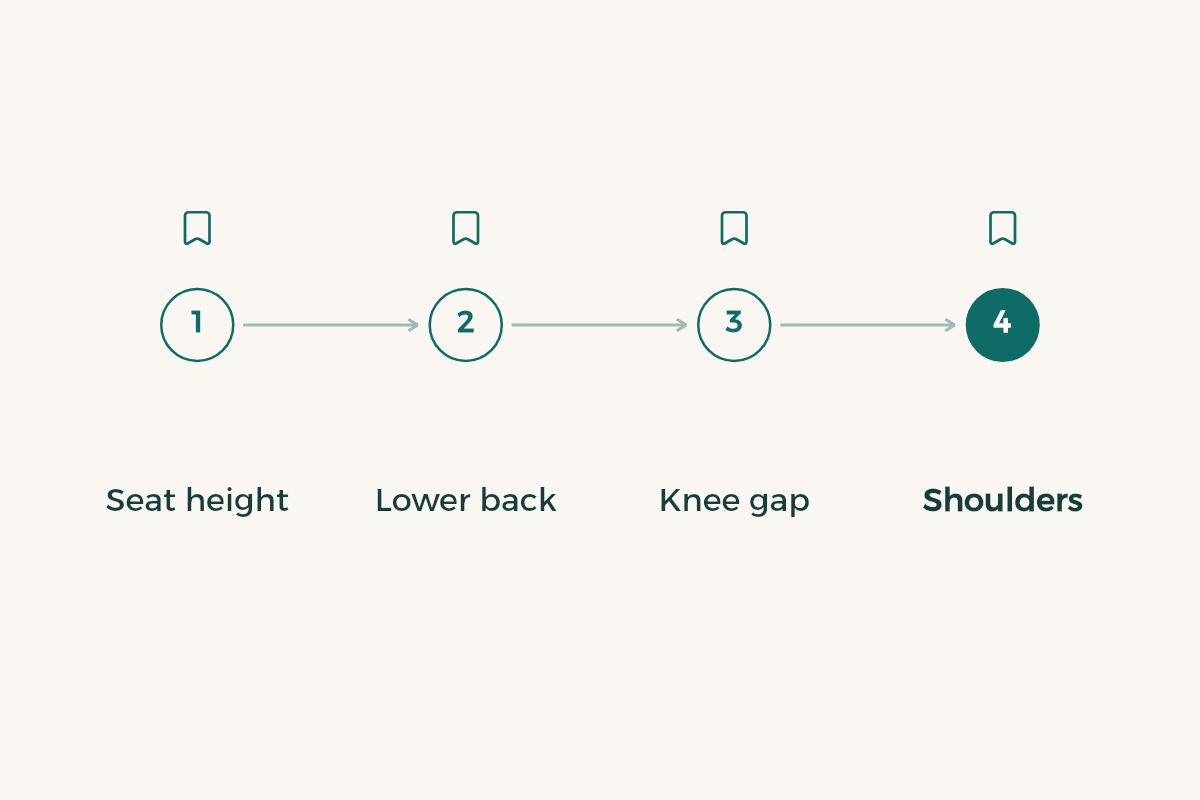
Start with the chair, because everything else builds on it. Per HSE guidance:
- Seat height
Set the seat so it supports the front and back of your thighs equally. If it does not adjust, a cushion helps.
- Lower back
The seat back should support your lower back. A small cushion works if the chair is flat.
- Knee gap
Leave a gap of 2 to 3 cm between the front of the seat and the back of your knee.
- Shoulders
Keep your shoulders relaxed. If you shrug while typing, the desk is too high or the chair too low.
Step 2: Put the screen in the right place
- The top of the screen roughly level with your eyes.
- About an arm length between you and the screen.
- Screen and keyboard straight in front of you, so you do not twist your back all session.
Here is the problem most students have: the laptop. Its screen sits low, so you hunch over it for hours. HSE recommends a separate keyboard and mouse, with the laptop raised on a riser or other stable stand so the screen comes up to eye level.
Step 3: Keyboard and mouse
- Keyboard just below elbow height.
- Mouse in line with your elbow, close to the keyboard, so you do not reach.
- Leave space in front of the keyboard to rest your hands between typing.
With a keyboard in front of you, use shortcuts instead of the mouse. They save time and reduce hand movement. The full list is in keyboard shortcuts.
Step 4: Lighting
- Place the desk with the window to your side, not behind you or straight ahead, so light does not reflect off the screen or glare behind it.
- At night, keep the room lit as well as the screen. Studying in a dark room with only the screen glowing tires your eyes.
- Point a desk lamp at your book or notebook, not at the screen.
- On iPhone and Mac you can turn on Night Shift for warmer screen colors in the evening.
Step 5: The phone goes away
The strongest step in a desk setup has nothing to do with furniture: the phone. If it is next to you, you will pick it up. Charge it on the far side of the room or put it in a drawer, and turn on a Study Focus that silences everything except what matters. The method is in iPhone focus mode for studying, and broader focus tips are in how to focus while studying.
Step 6: Breaks are part of the setup
The best desk in the world does not replace movement. HSE recommends short, frequent breaks over longer, less frequent ones, for example 5 to 10 minutes every hour rather than 20 minutes every two hours. The point of a break is to stand up and move, or at least stretch and change posture.
The Pomodoro method builds this in: 25 minutes of study and a 5 minute break. Details in Pomodoro technique.
Step 7: Devices and cables
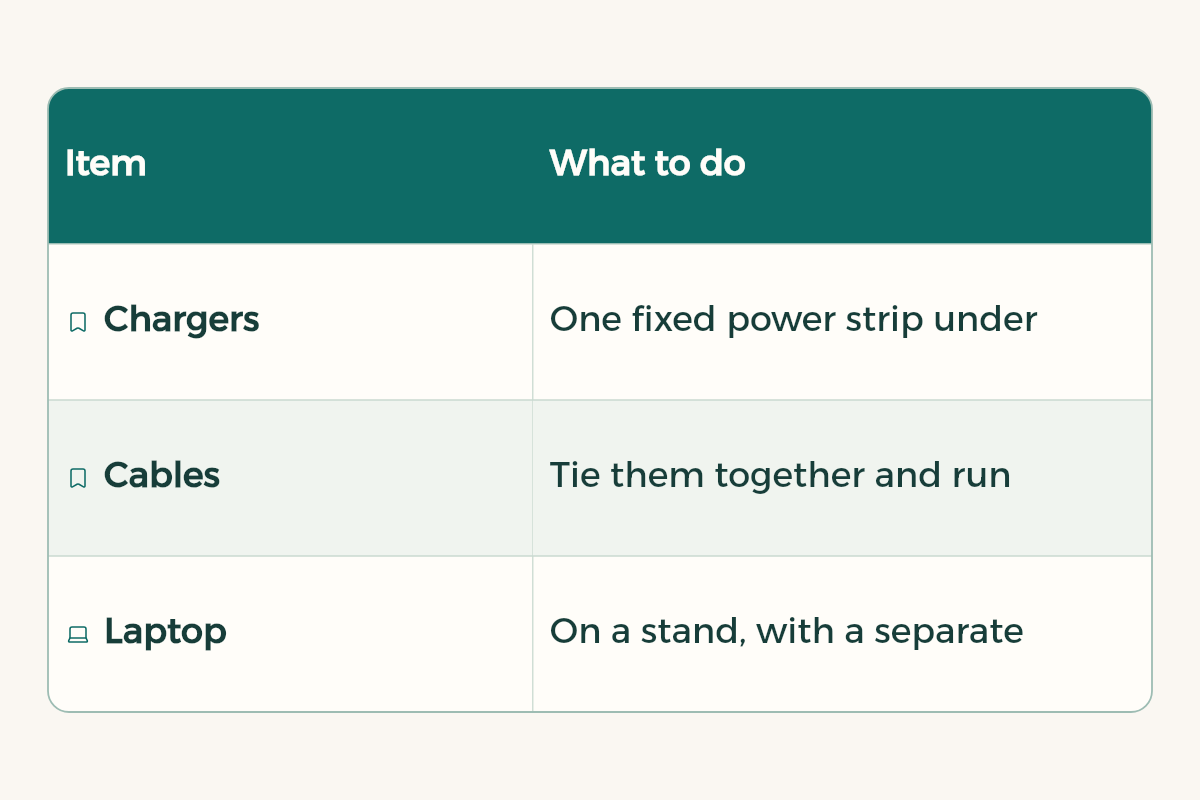
| Item | What to do |
|---|---|
| Chargers | One fixed power strip under the desk instead of cables across the floor |
| Cables | Tie them together and run them down one edge of the desk |
| Laptop | On a stand, with a separate keyboard and mouse |
| iPad | A second screen for slides or notes next to the laptop |
| Headphones | On a stand or hook instead of on top of your books |
| Notebook and pen | In front of you, to the side of your writing hand |
With a Mac and an iPad, you can use the iPad as a second display for the Mac. That and other features across Apple devices are in Apple continuity for students. Setting up the iPad itself is in iPad for studying.
Set up the desk for the kind of studying you do
| Study type | In front of you | Out of the way |
|---|---|---|
| Reading and memorizing | The book or handout, a highlighter and a small notebook | The laptop, closed or out of reach |
| Problem solving | A large notebook, a calculator and the lecture on iPad or screen | The phone and anything unrelated |
| Writing a paper | Laptop on a stand, keyboard and mouse, sources in a second window | Paper books you do not need right now |
| Online lecture | Laptop at eye level, headphones with a mic, light on your face | Other browser tabs |
The idea is that the desk tells your brain what the task is right now. For long writing sessions on a laptop, see how to write a research paper.
The desk during exams
- Set it up the night before: summaries, pens and water ready so you start straight away in the morning.
- Keep your revision plan written down in front of you, not on the phone.
- Clear the desk at the end of each day so tomorrow does not start in a mess.
The revision plan itself is in final exams revision.
A small desk in a shared room or dorm
- Use the wall: a shelf above the desk keeps books off the work surface.
- Noise-canceling headphones create a private room in the middle of noise. Options are in best headphones for students.
- Agree on quiet study hours with your roommate.
- If the desk is not enough, your university central library is a great option for long sessions.
Quick setup checklist
| Check | Done? |
|---|---|
| Top of screen at eye level, an arm length away | ☐ |
| Chair supports your lower back | ☐ |
| Keyboard just below the elbow, mouse beside it | ☐ |
| Window to the side and enough light | ☐ |
| Phone away and Focus on | ☐ |
| A timer for breaks | ☐ |