By the tiswa editorial team, from the official sources listed at the end of this guide. How we write our guides
Searching for how to make LinkedIn profile is the right first step, and the sign-up itself takes minutes. What decides whether the account is ready to apply with, or sits empty for months, is the order you work in afterwards. This guide shows the sign-up, the settings to check first, and a first-hour plan that needs no work experience.
Ground rules before you start
LinkedIn allows one account per person, and the name on it should be your real name. False information breaks the User Agreement. The minimum age is sixteen, or higher where local law requires it. These rules sound obvious, but they shape everything else: the details you enter on day one are the ones you will build on.
Sign-up and setup, step by step
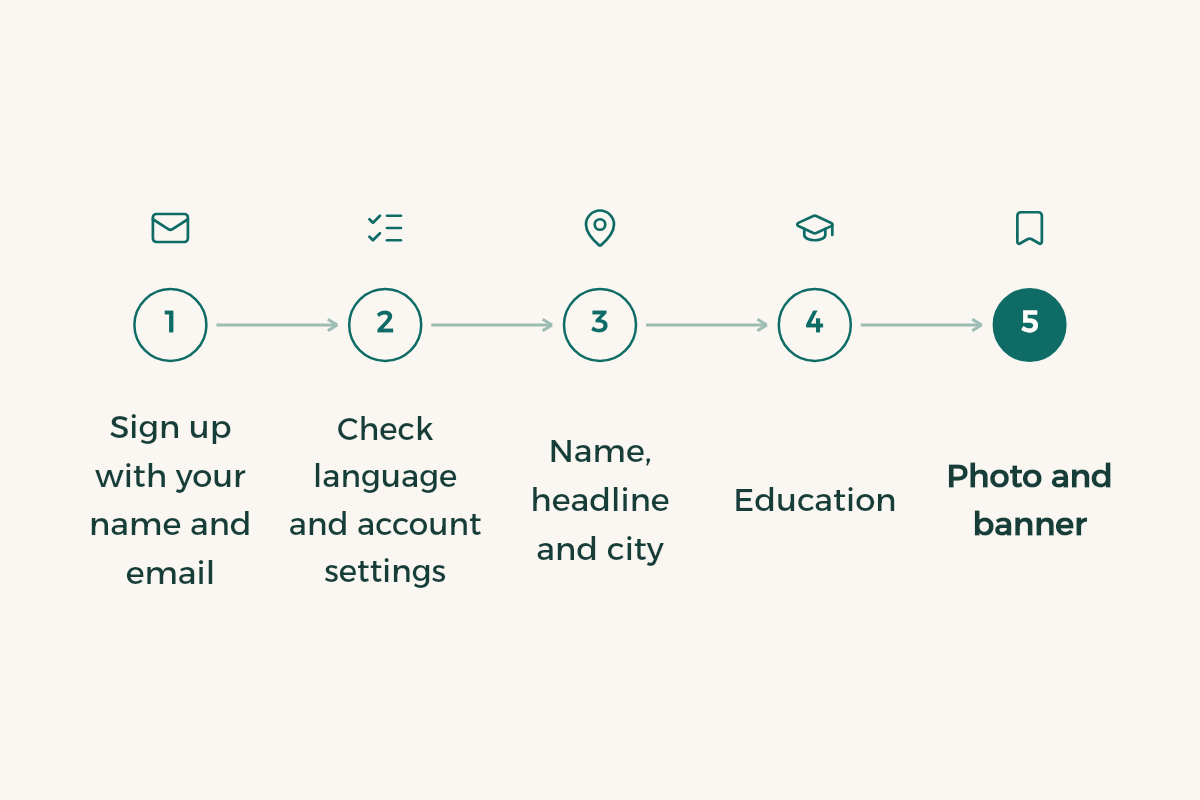
- Sign up with your name and email
Open LinkedIn on the web or in the app, enter your first and last name and your email, then choose Join now. You can also sign up with a Google or Apple login and skip creating a password. Pick an email address you will still use in several years, because it is how you recover the account.
- Check language and account settings
Open Settings and Privacy, then Account preferences, and check the interface language. The interface language is separate from your profile language, which we explain in the two-language profile guide. Set it now so the app does not surprise you later.
- Name, headline and city
Make your name match your official ID or university record. Write a short headline that names your major, then add your city, since location filters are common in job search.
- Education
Choose your university from the list so its logo appears, then add your major and expected graduation date. Add student clubs and activities too. For a student with no work history, this section does a lot of the work.
- Photo and banner
Add a clear photo and a simple banner. The details are in our guides on the profile photo and the banner. For now, the key is not to leave the photo empty.
- Visibility and URL
Review the public profile settings before you publish anything, then change your URL to your name if it is free. The custom URL guide covers the rules.
Your first hour, planned
| Stage | What to do | Result |
|---|---|---|
| First ten minutes | Sign up, set language and account preferences | An active account on an email you will keep |
| Next twenty minutes | Name, headline, city and education | A profile a visitor understands quickly |
| Remaining time | Photo, banner, visibility and URL | An account you can share with a recruiter |

Do not try to finish every section in one sitting. The goal of the first session is a clear, visible account. You improve it each week as projects, certificates or skills arrive. A profile that grows steadily looks stronger than one that was perfect on day one and never changed.
What to add now and what to wait on
- Add now: your university and major, at least one course or capstone project, and skills you can genuinely demonstrate.
- Wait on: recommendations. They need connections who know your work and take time to arrange. The recommendations guide explains how.
- Avoid: certificates you have not finished and skills you cannot explain in an interview. Anything on the profile can come up in a conversation.
Start with people you already know
Once the profile is in shape, look for classmates, lecturers and people from clubs or volunteer teams you have worked with. Send connection requests with a short note saying who you are, because a request with no note is easy to ignore. Ready-to-adapt connection messages save you writing from scratch.
Check it as a stranger would
Before you share your link with anyone, open your profile the way a visitor who does not know you would see it. Can you tell your major and what you want from the first lines? Is the photo clear and the university visible? If the answers are yes, the account is ready to show.
Keep the profile private while it is incomplete
Some students prefer to keep the profile hidden while it is still rough. You can control this in the visibility settings, but a hidden profile does not appear to the people you want to reach. Set the options once, then revisit them when your goals change. The private mode guide lists the choices.
Mistakes that happen in the first week
- Opening several accounts with different emails. One account per person keeps your history in one place and avoids confusion for anyone looking you up.
- Using a nickname instead of your real name. This breaks the rules and can cause problems with the account later.
- Leaving the privacy defaults unreviewed. Check them once on day one.
- Filling fields with placeholder text and forgetting it. Everything you write is visible until you change it, so write the version you will keep.
If you lose access to the email on the account, recovery depends on what you entered the first time. Confirm the address before you build on it. If your account is restricted or someone else gets access, the steps are in the restricted account guide.
The first week after you set up
- Follow the companies and organisations you care about, so their posts and programme announcements reach your feed.
- Open the jobs section and try one search with your field and city. Do not apply yet. Learn how the results look and how to narrow them down. The jobs guide explains the filters.
- Post one short update about something you learned this week, even if nobody reads it. The point is to show that the account is active.
When the account is complete, go back to the LinkedIn for students guide to check the full structure. Then make your CV match it, using the template in CV for students with no experience.