By the tiswa editorial team, from the official sources listed at the end of this guide. How we write our guides
A good LinkedIn profile picture is the first thing a visitor sees, and most students can take one with a phone in ten minutes. You do not need a studio or an expensive camera. You need soft light, a plain background and a photo that still looks like you on an ordinary day.
What a recruiter looks for in the photo
A photo does not judge your skills, but it sets the first impression. A recruiter wants to see that the account belongs to a real person who looks serious and approachable at the same time. A good photo has a clear face, is reasonably recent, and shows nobody but you.
Size and dimensions
LinkedIn accepts a profile photo between 400x400 pixels and 7680x4320 pixels. Bigger is not better: a sensible size and a file that is not heavy will look sharper on screens. Choose a square or near-square picture and keep your face in the middle. The official details are in the LinkedIn Help Center page on profile photos.
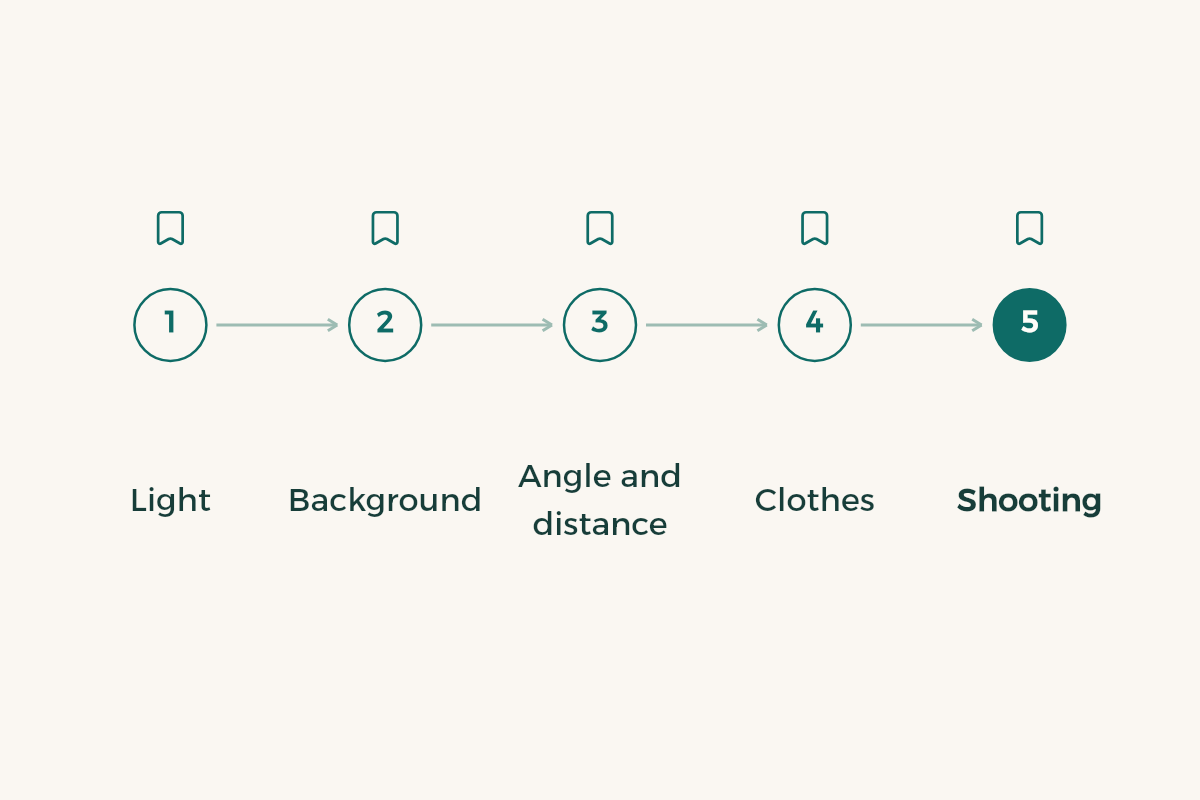
Shooting it on your phone
- Light
Stand near an open window or in indirect daylight, with the light source in front of you rather than behind. Avoid overhead light from a single bulb, because it casts shadows under the eyes and nose.
- Background
Choose a blank wall or a single plain colour, away from clutter. Do not shoot in front of an unmade bed or a place where other people could appear in the frame.
- Angle and distance
Hold the phone roughly at eye level, stand about two metres away, then move a little closer. A photo from below looks imposing, and one from above looks tired.
- Clothes
Wear what you would wear to an ordinary interview: a simple shirt or blouse in calm colours, or the outfit you usually wear to formal occasions. Avoid large logos and colours that blend into the background.
- Shooting
Take at least twenty shots, move slightly between them, then pick three and look at them on a large screen. The one that still looks natural after a minute of looking is usually the right one.
- Crop and tidy
Crop to a square with a reasonable space above your head. A small adjustment to brightness and contrast is enough. Do not use filters that change facial features or skin tone.
What to avoid
- A group photo or a cropped picture from an event, even if you are at the edge of it. Take a fresh single-person photo instead.
- Sunglasses, or a face that is hidden. Glasses are fine if you wear them every day.
- An old photo that looks very different from you now. Whoever meets you later should recognise you easily.
- Pictures of pets, holidays or jokes. All of them weaken the professional impression.
Can you edit the photo with AI?
AI tools can improve lighting or remove a distracting background, but the picture should still look like you as you are in real life. If the edited version looks ten years younger, or changes the shape of your face or your skin tone, it defeats its purpose, and the person you meet will notice at once. Treat editing as tidying up, not as rebuilding yourself. Before you save, show the picture to a friend who knows you and ask: does this look like me?
Frames and when to use them
LinkedIn offers photo frames, including the #OpenToWork frame linked to job searching. Frames are optional, but they send a clear signal about your status. The official frame details are on the LinkedIn Help Center page on profile frames, and the #OpenToWork guide explains when to use it and who sees it. A simple rule: if you are looking for placement now, the frame helps; if you are not, leave it off.
Test the photo before you keep it
I have attached a photo for my professional profile. Review it as if you were a recruiter in [my field]. Judge clarity, lighting, the background and whether the clothes suit an ordinary interview. Do not judge looks or attractiveness. Then suggest one change only that would most improve the first impression.
After the photo: the next steps
The photo works together with the banner and the headline, not on its own. Design a simple banner that names your field, then write a headline that appears in search. If you are getting ready for a co-op placement, the steps in the co-op training guide show how to use the profile when you search for opportunities.
A photo for a student with no work history
You do not need a suit or an office backdrop. What you need is a picture of someone who looks ready to talk about their work, and who you could meet in a workplace. A relaxed smile usually beats a stiff pose. Keep the photo current: if your appearance has clearly changed, update it, because a person who meets you later should recognise you at once.
Phone mistakes that are easy to fix
- The front camera distorts features when held close. Ask a friend to take the picture with the back camera from a suitable distance.
- Direct flash gives a flat, shiny face. Turn it off and look for natural daylight.
- A tilted phone makes the line of your shoulders lean and looks unbalanced. Hold the phone level.
- A large, compressed file looks dull after upload. Use a sensible size, and do not enlarge a small picture.
After uploading, check it on two screens
The photo looks different on a phone and on a computer, and phones usually show profile photos inside a circle. Open your profile on both devices and make sure your face is fully visible and your shoulders are not awkwardly cut. If the crop hides important details of your face or hair, reframe the picture before you keep it.