By the tiswa editorial team, from the official sources listed at the end of this guide. How we write our guides
Page numbers in Word are easy when you want them on every page. They confuse most students when the department wants no number on the cover, or numbering that starts on page 3 after the cover and the table of contents. This guide covers all three cases the way Microsoft explains them, from simplest to most flexible.
First, check what your department wants
Before you start, open your department's writing guide or ask your instructor. Some want numbers from the first page, some only hide the cover number, and some want Roman numerals (i, ii, iii) for the front matter and normal numbers starting at 1 from the introduction. Each case needs a different method, and choosing the right one up front saves a lot of trial and error.
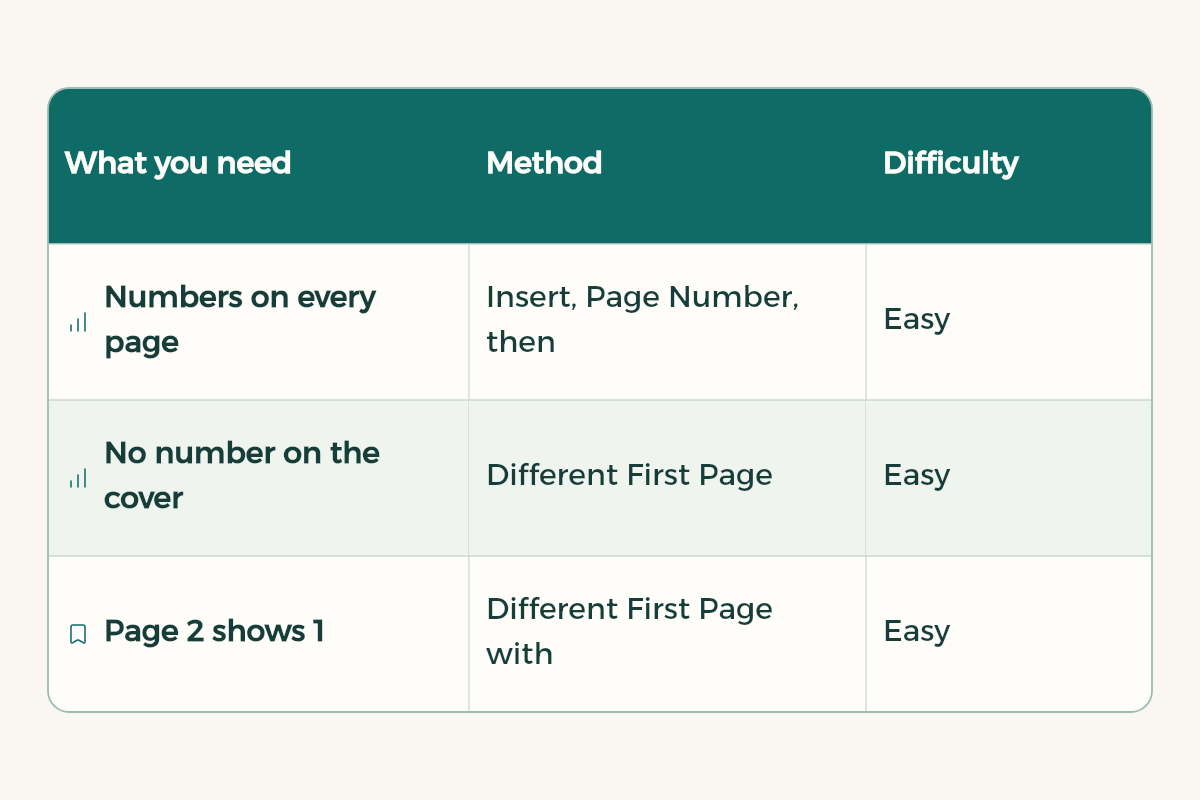
| What you need | Method | Difficulty |
|---|---|---|
| Numbers on every page | Insert, Page Number, then pick a position | Easy |
| No number on the cover | Different First Page | Easy |
| Page 2 shows 1 | Different First Page with Start at = 0 | Easy |
| Start on page 3 or any page | Next Page section break and turn off Link to Previous | Medium |
| Roman numerals, then normal numbers | Two sections, each with its own number format | Medium |
Case one: hide the cover page number
Microsoft's steps to hide the number on the first page only:
- Open the header or footer
Go to Insert, then Header or Footer, then Edit Header or Edit Footer, wherever your number sits.
- Turn on a different first page
Select Different First Page.
- Delete the number
In the area labelled First Page Header (or the first page footer), select the page number and press Delete.
- Close
Select Close Header and Footer.
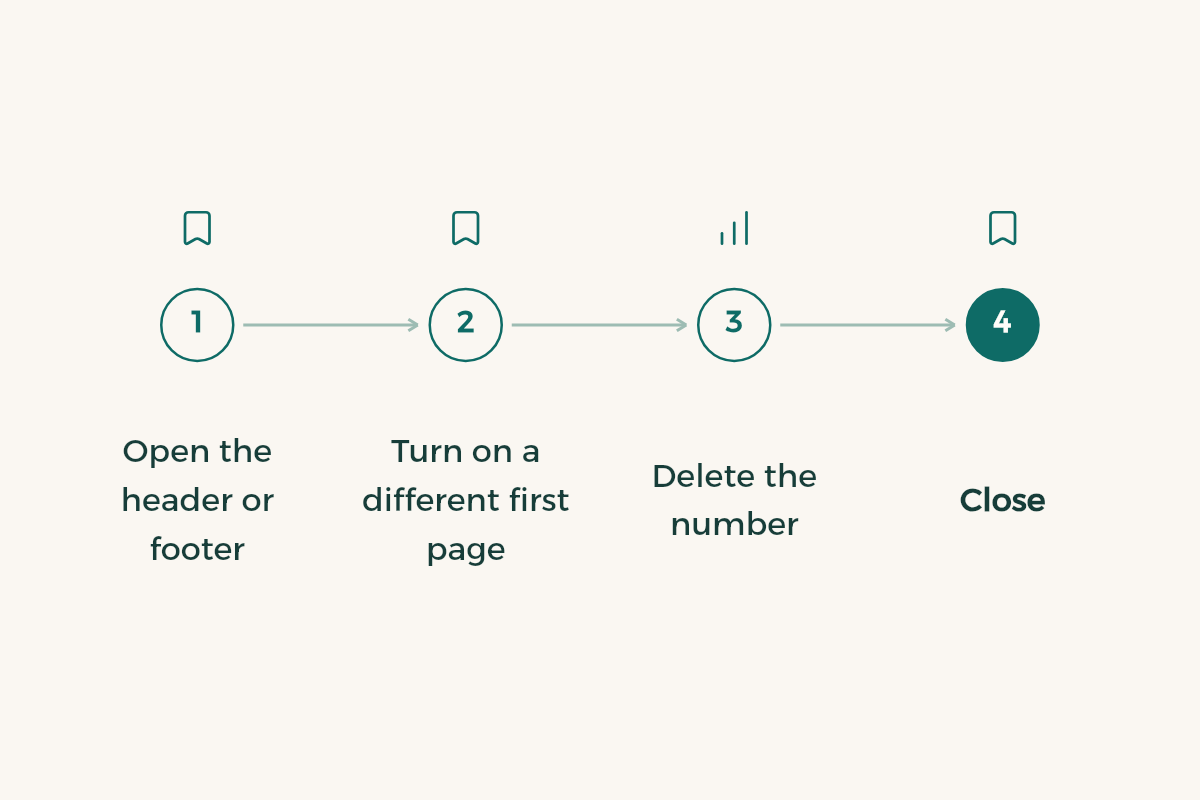
The cover now has no number, but the second page will show 2, because Word still counts the cover.
Case two: make page 2 show the number 1
If you want the page after the cover to show 1, Microsoft gives a simple trick: start numbering at zero.
- Hide the cover number
Apply the Different First Page steps above first.
- Open the number format
Go to Insert, Page Number, then Format Page Numbers.
- Start at zero
Under Page Numbering, set Start at to 0.
- Check
The cover now carries a hidden 0, and the second page shows 1.
Case three: start numbering on page 3
This is the case students search for most: a cover, a table of contents, then numbering from 1 with the introduction on page 3. The answer is to split the document into two sections, then unlink the numbering of the second section from the first. Microsoft documents this method in its Word for Mac article. On Windows, look for the same names: Breaks, Link to Previous and Format Page Numbers.
- Place the cursor
Click at the start of the first line on the page where numbering should begin, the start of your introduction on page 3.
- Insert a section break
On the Layout tab, select Breaks, then Next Page. The cover and contents are now one section, and the rest of the paper is a second section.
- Open the second section footer
On the page after the break, double-click the footer or header area.
- Unlink it
On the Header & Footer tab, click Link to Previous to turn it off. Headers and footers are linked separately, so turn it off for whichever one holds your page number.
- Add the number
On the Header & Footer tab, click Page Number, then Page Number again, and choose the position and alignment. Clear Show number on first page if you do not want a number on the first page of this section.
- Start at 1
Click Page Number, then Format Page Numbers, select Start at and enter 1.
- Close and repeat
Click OK, then Close Header and Footer. If other sections need their own numbering, repeat these steps for each one.
Then delete any number left in the first section if you do not want it there. The second section will not change, because you unlinked them. That is why Link to Previous is the most important step in the whole process: without it, any change in one section carries over to the other.
Roman numerals for front matter
Some theses and graduation projects want the abstract and contents numbered in small Roman numerals, then normal numbers from chapter one. The method extends case three:
- Split the paper
Put a Next Page section break before chapter one, as in case three.
- Format the first section
In the front matter footer, open Page Number, Format Page Numbers, and choose lowercase Roman numerals (i, ii, iii) from the Number format list.
- Format the second section
After turning off Link to Previous in the second section, open Format Page Numbers, choose normal numbers and enter 1 in Start at.
Page numbers and your table of contents
An automatic table of contents takes its numbers from your page numbering, so set the numbering first, then update the table. If you do not have an automatic table yet, see table of contents in Word. If you do, right-click it and choose Update Field on Windows after every numbering change.
Common problems and fixes
- Every page restarts at 1: you probably set Start at in the wrong section, or extra breaks turned pages into separate sections. Check your breaks under Layout, Breaks.
- Deleting the cover number removed numbers everywhere: Different First Page was off, or Link to Previous was still on. Undo, then follow the steps in order.
- The number landed in the header but you want it in the footer: headers and footers are separate, so delete it from the header and add it again from Page Number with a bottom position.
- A blank page after the break: a Next Page break starts a new page, so a break at the end of an empty page adds an extra one. Put the break at the start of the first line of the introduction.
- Numbers look wrong in the PDF: check the numbering and table in Word before saving, because the PDF keeps what the file showed at the moment you saved.
Before you submit
Scroll through the paper page by page and check that the cover has no number if your department asks for that, the introduction starts on the right number, and the table of contents matches. Then save a PDF, and if it is too big for Blackboard, read compress pdf. For spacing and margins see format a research paper in Word, and every software guide is in the tools section.
- WPS Office: WPS Office offers WPS Office for free to university students in Saudi Arabia.
- Notion: Notion offers Notion Education plan for students to university students in Saudi Arabia for free.
- Google AI: Google AI offers Google AI Plus free for a year to university students in Saudi Arabia.